Custom Leather Inlay Design & Making Process
- daphneboard
- Jun 7, 2022
- 3 min read
Updated: Jan 12, 2023

Recently, I designed and made a pair of custom handsewn welted lace up boots for someone who wanted vintage tattoo art references incorporated into the work.
This is the first rough sketch -- ultimately, the design of the boot stayed much the same but the elements changed from a rose to bluebirds on the toe &
simple stitched stripes on the backstrap.

I like to sketch in 3d: making a paper pattern and taping it to the boot last allows me (& the client) to see how the design will eventually look as a sculpture rather than a drawing in 2d. Here, I've also included stitching thread color samples for the backstrap in the leather that the boots will be made of.

From drawing to leather sketch: this was pretty rough! Inlay in multiple colors takes planning where the sewing is going to go & how. I liked the curve of the right bird's top wing, but overall thought this needed a lot more refinement. Gave myself a few points for getting it looking this good using stretchy bits of the leather, but ...

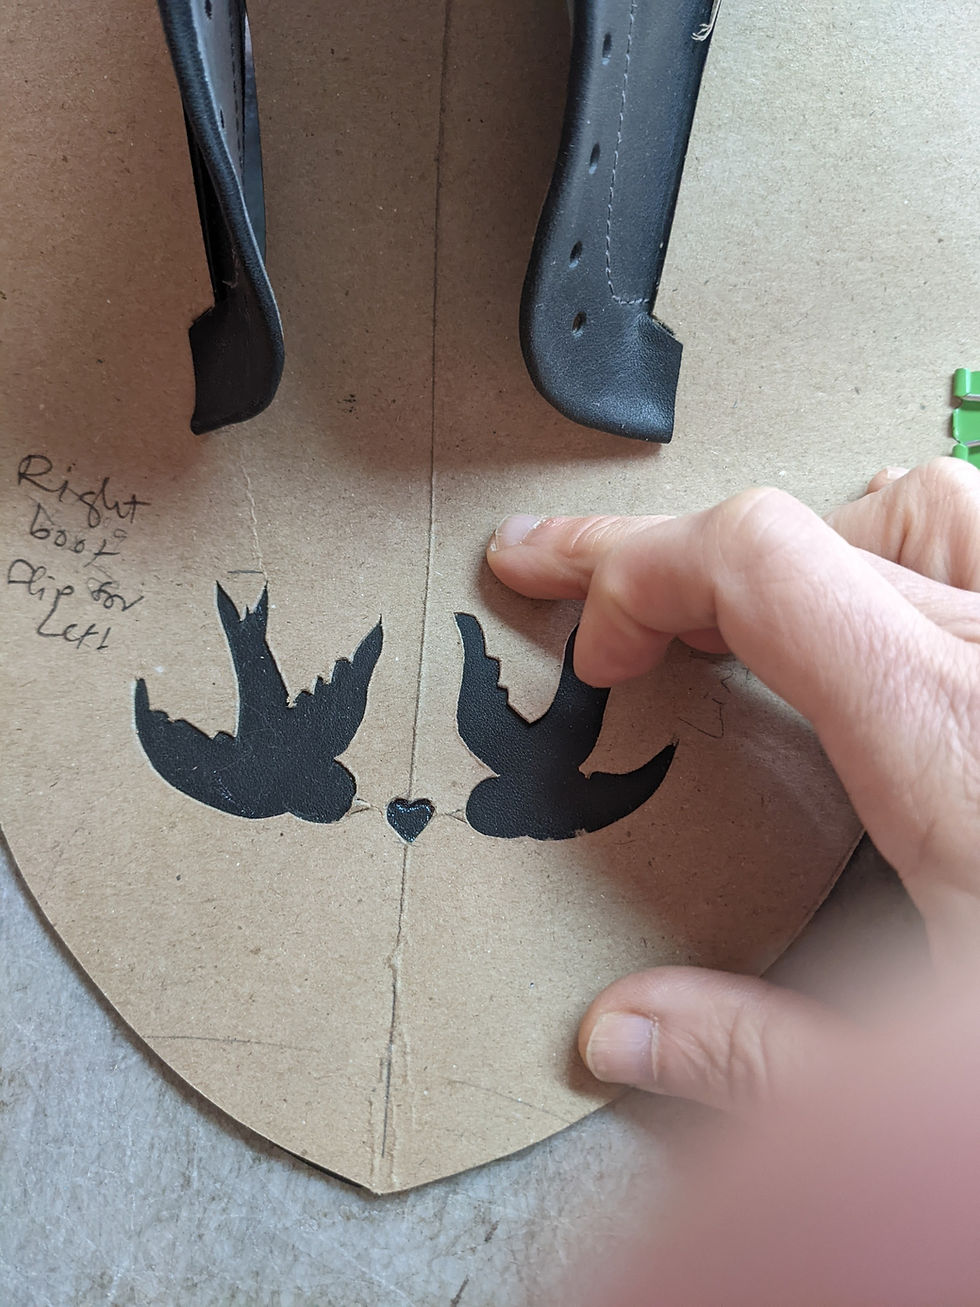
Fast forward to lining up the boot upper pattern to the leather uppers. I like to write notes to myself on my patterns because when you have this many steps in the process, it's easy to forget you are making a mirrored pair of shoes or boots.

I use a scratch awl to scratch the pattern into the surface of the leather for accuracy and then I cut with a very sharp thin blade. I've pre-lasted the upper as well (see the couple of tack marks lower left), getting it into more of the shape it will take as a pair of boots. I haven't sewn in the lining yet so that I can easily do this inlay work without worrying about cutting the leather lining.

A view from the work table! I made a better inlay sample of The Birds, and now I have all of my kidskin leather pieces cut and scived around the edges, ready to be glued and sewn. These things were tiny, so I used an awl to hold some of them down while sciving instead of what I normally use for larger pieces (my fingers).

Mirrored Birds! Color matched threads so that the eyes pop in the darker grey on white leather there. At this point I'm so focussed on these small shapes.

This boot upper is ready to be stitched. I've marked some lines in removable gel pen to remember to stitch elements like feather details on the wings. The beak to heart to beak -- actually the entire outline of the birds in grey -- is stitched all in one go so that it looks nice.

In this photo, you can see I've got the linings in (look at the left lacing panel) and one is tacked onto the last.

I really enjoy making this style of boot, with the golosh. The vamp (front piece at the toe) extends all the way to the back of the boot and the quarters (four pieces around the ankle including the lacing panels) sit underneath the vamp/golosh with the lacing tabs stitched down right at the end. That said, I've not done this intricate of an inlay in boots before & really enjoyed that process as well!


Comentarios